Table of Contents
ToggleA roof leak rarely shows up where the real problem starts. You notice a brown ceiling stain, damp insulation, or a drip near a light fixture, but the actual opening may be several feet away. That is why roof leak repair steps matter. The right response can limit interior damage, protect your roof system, and help you avoid paying for a much larger repair later.
For homeowners and property managers, the goal is not just to stop the water for a day. It is to identify the source, understand the extent of the damage, and make the kind of repair that holds up through the next storm, freeze-thaw cycle, or heavy snow load.
Start with safety before anything else
If water is actively coming in, your first job is protecting people and the interior of the building. Move furniture, electronics, inventory, or valuables away from the leak. Place a bucket or container under the drip, and if water is bulging under paint or drywall, draining that bubble carefully can prevent a wider ceiling collapse.
Do not climb onto a wet roof. That is especially true in Minnesota, where rain, frost, and aging shingles can turn a quick look into a serious fall risk. If the leak is near electrical wiring, light fixtures, or a service panel, shut off power to that area and have it evaluated before doing anything else.
Roof leak repair steps begin with damage control
A leak can spread fast through insulation, decking, framing, and wall cavities. The longer moisture sits, the higher the chance of mold, wood rot, and hidden structural damage. Open windows if weather allows, run fans, and use a dehumidifier to pull moisture out of the space.
If the leak follows a storm, take photos of the ceiling stain, damaged materials, and any visible roof issues from the ground. That documentation can help if the damage is tied to wind or hail and you need to review insurance options later.
Temporary protection may also be necessary. In some cases, a professional tarp installation is the smartest move until conditions are safe for a full repair. That does not solve the underlying problem, but it can buy time without letting more water into the structure.
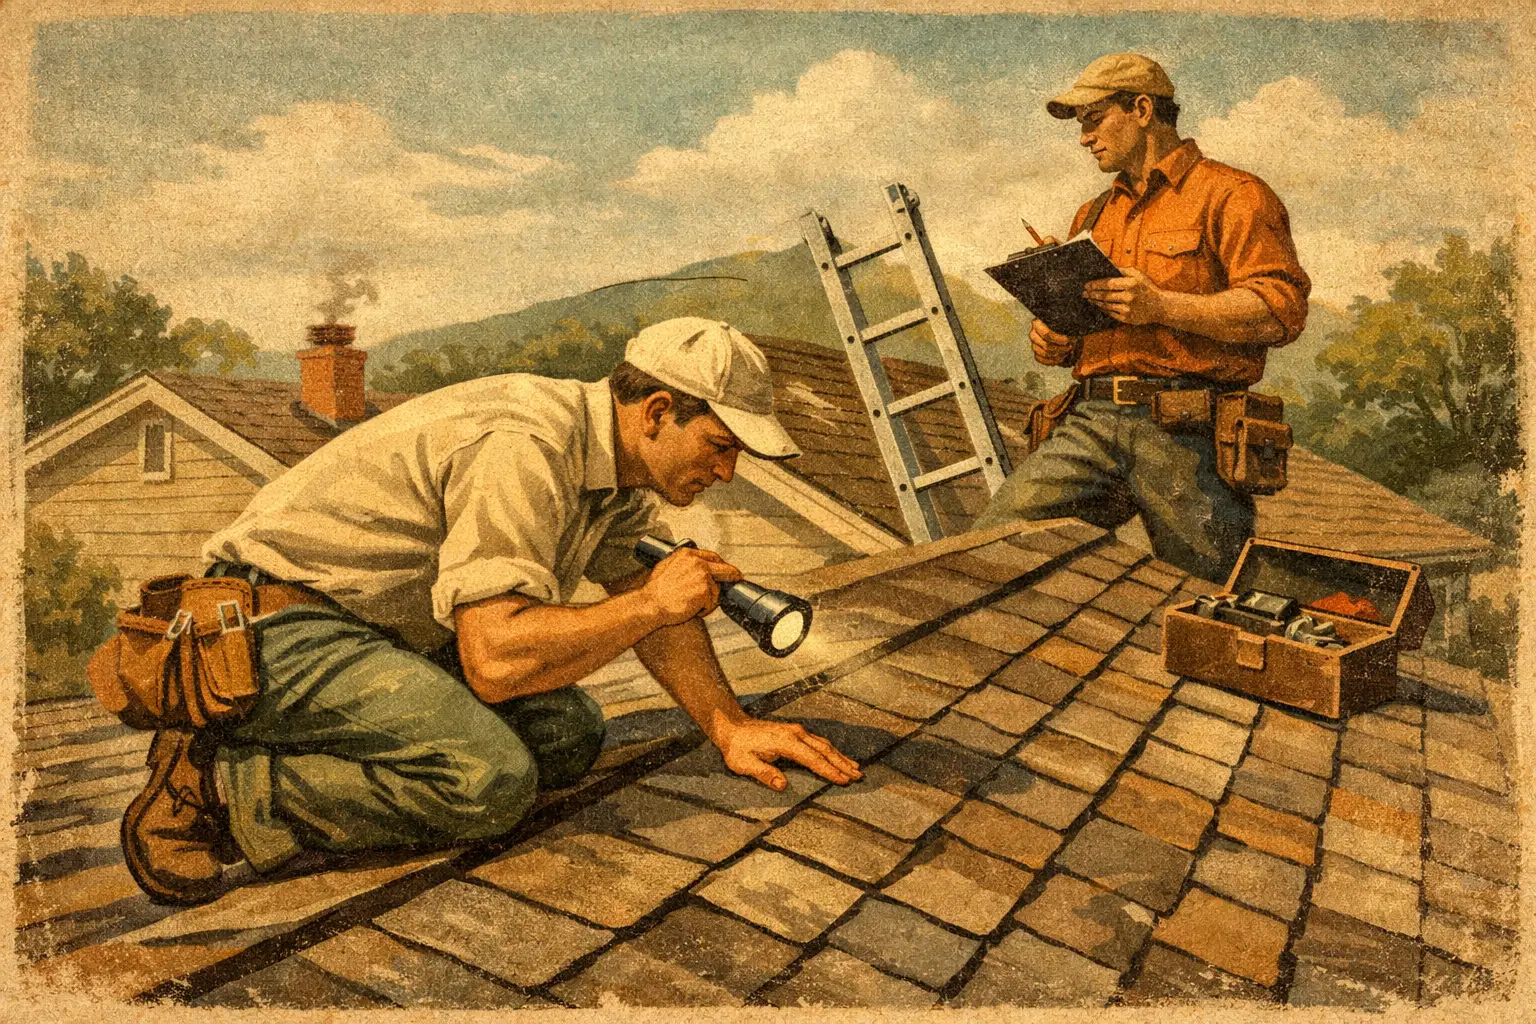
Finding the source is harder than it looks
The most frustrating part of a roof leak is that water travels. It can enter around flashing, a vent, or a missing shingle and then run along rafters before it ever shows up indoors. That is why the visible leak is only a clue.
Start inside the attic if you have safe access. Look for darkened wood, damp insulation, water trails, or sunlight coming through the roof deck. Pay attention to roof penetrations like plumbing vents, bath fan exhausts, chimneys, skylights, and valleys where two roof slopes meet. These are common leak points because they rely on flashing and seal integrity, not just shingles.
From the ground, inspect for obvious red flags such as missing shingles, lifted tabs, exposed fasteners, damaged flashing, sagging gutters, or debris buildup. If the roof is steep, high, icy, or storm-damaged, this is the point where a professional inspection is the safer and more accurate choice.
The most common causes behind a leak
Not every leak comes from the same kind of failure, and that affects the repair. A few missing shingles after wind damage can call for a targeted fix. Worn pipe boot flashing is a different issue. So is a leak caused by ice dams, which can push water up under shingles even when the roof surface itself is mostly intact.
Older roofs often develop leaks because sealants dry out, flashing loosens, or shingle granules wear away over time. Newer roofs can leak too, usually because of poor installation details, improper ventilation, or storm impact. Flat and low-slope commercial roofs bring another layer of complexity, since punctures, membrane seams, drainage problems, and ponding water can all be part of the problem.
That is why a patch is not always a fix. The material that failed has to be repaired the right way, and the surrounding roof area has to be checked for related damage.
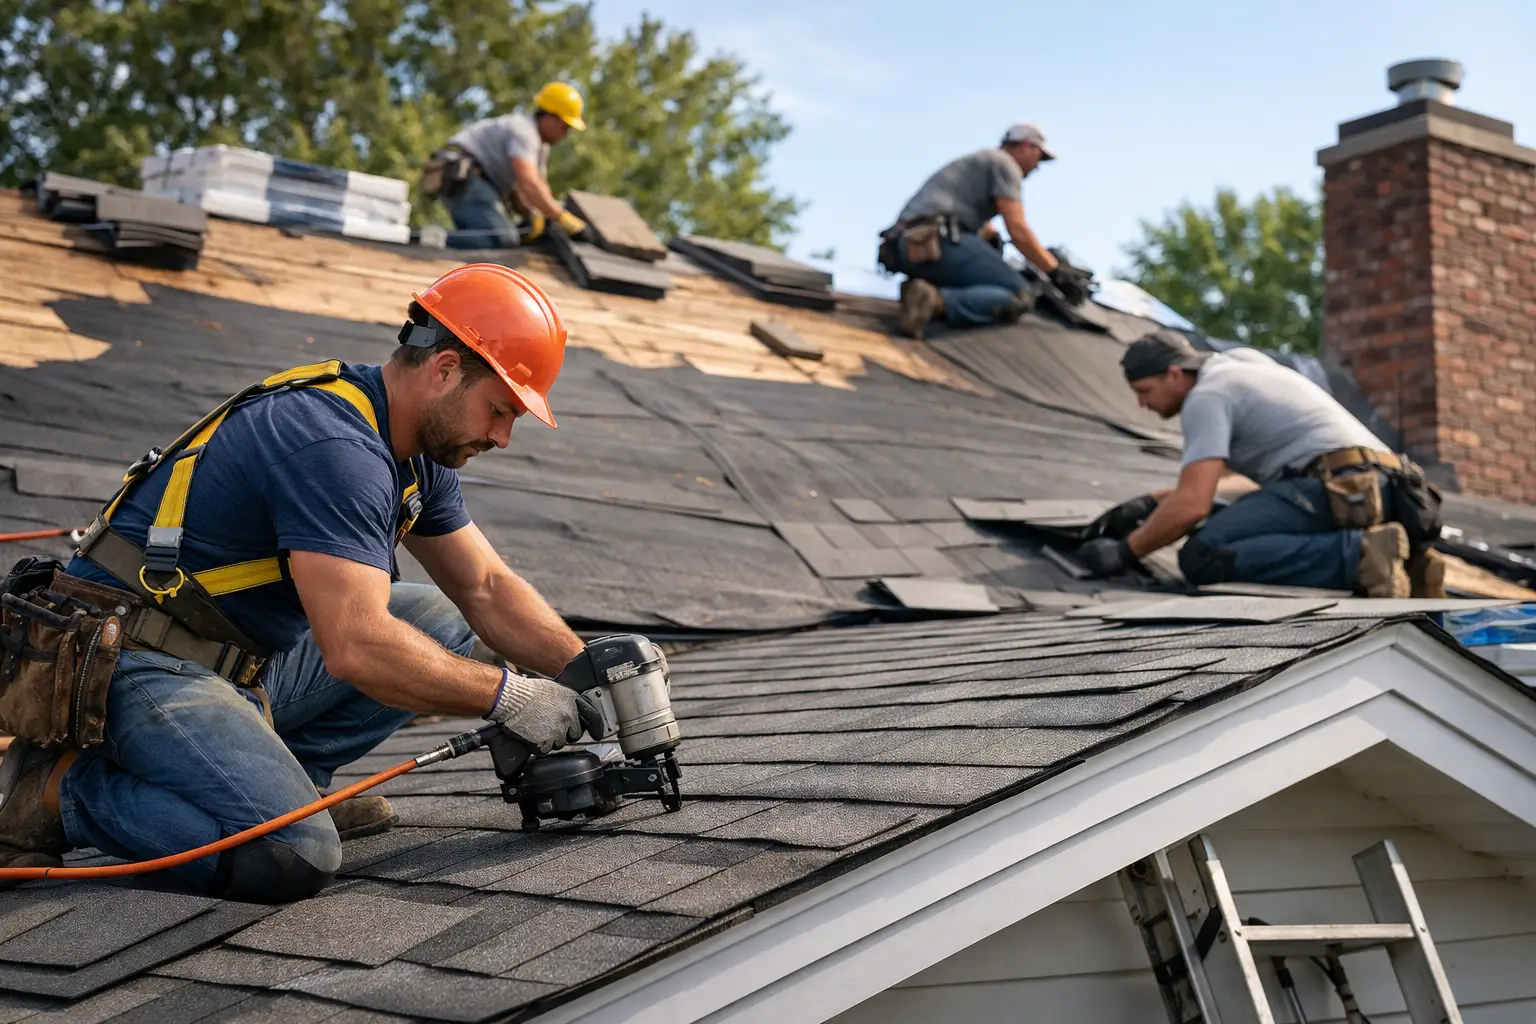
Roof leak repair steps for different problem areas
If the leak is tied to a small, isolated shingle issue, the repair may involve replacing broken or missing shingles and resealing vulnerable fastener locations. If flashing around a chimney, wall intersection, or vent has failed, the repair usually requires removing surrounding roofing materials, installing new flashing correctly, and then restoring the roofing surface around it.
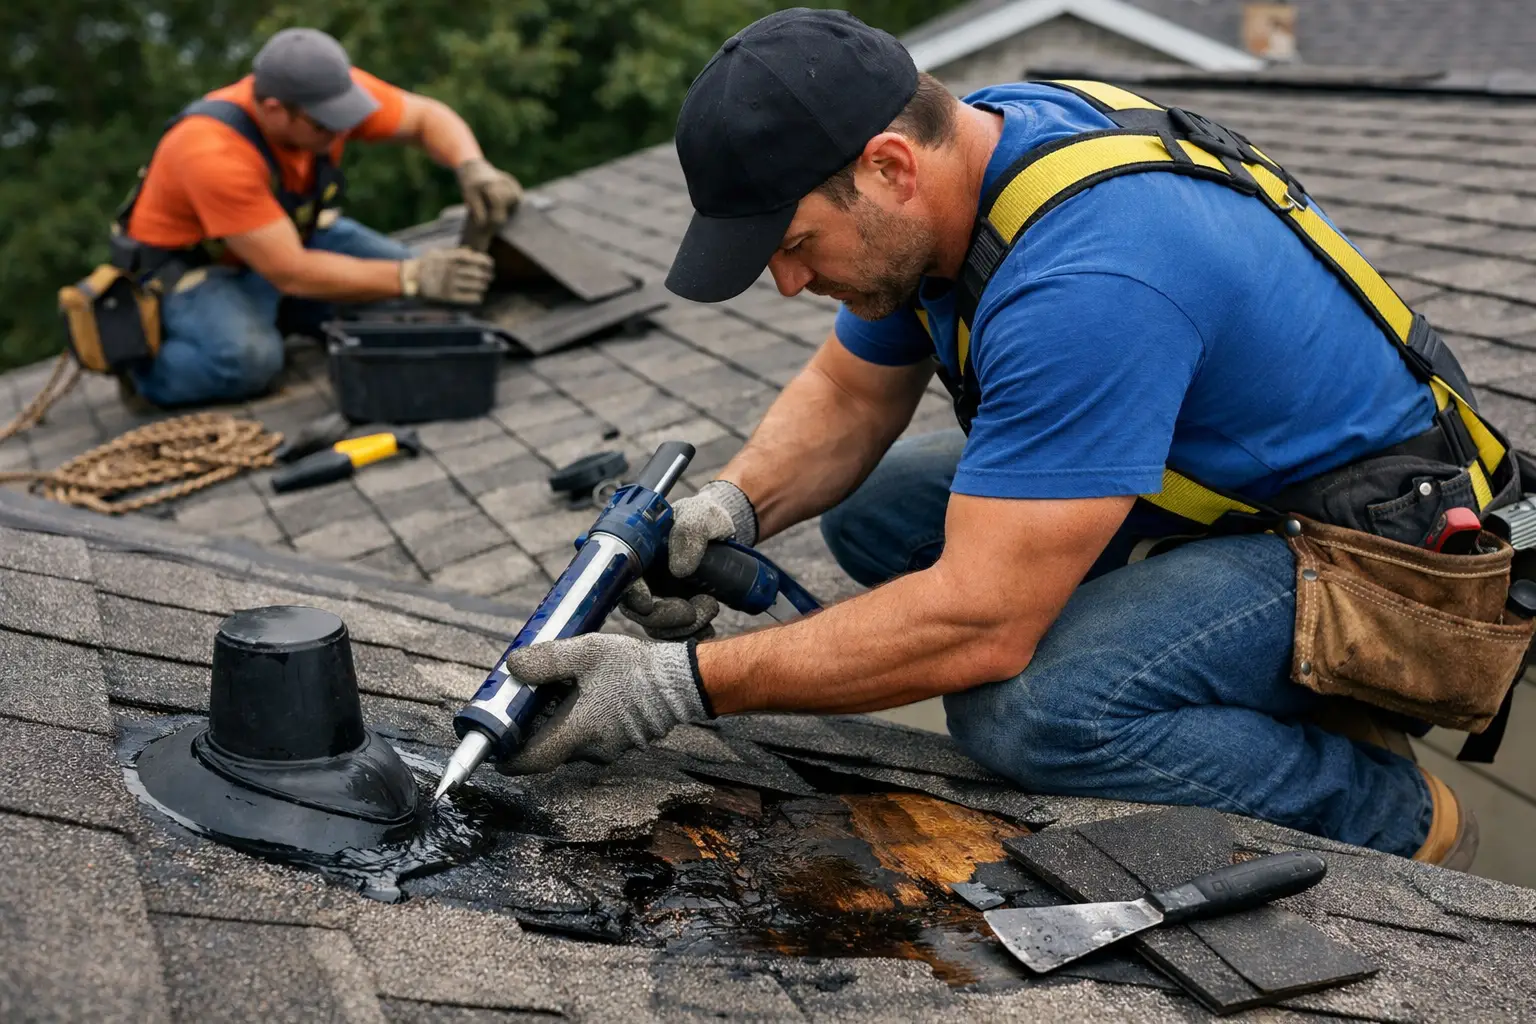
For plumbing vent leaks, the pipe boot is often the culprit. Rubber collars can crack from age and weather exposure, allowing water to slip in around the penetration. Replacing the boot is usually more reliable than trying to cover it with more sealant.
If a valley is leaking, the issue may be worn shingles, failed underlayment, or poor water flow caused by debris. Valleys handle a large volume of runoff, so shortcuts here tend to fail quickly. Ice dam leaks are another category entirely. In those cases, clearing the immediate water entry point may help, but long-term protection usually depends on improving attic insulation, ventilation, and ice dam prevention measures.
On commercial roofs, a leak may involve membrane punctures, open seams, flashing separation, or blocked drainage. These systems require repair methods specific to the roof type, and guessing can make the leak worse.
When a DIY repair makes sense, and when it does not
There are situations where a careful property owner can manage temporary damage control. Catching water, drying out the area, and documenting the problem are all smart steps. But permanent roof repair is where many DIY attempts go wrong.
Roof cement and caulk often get overused because they seem fast and inexpensive. Sometimes they help as a short-term measure, but they are not a cure for every leak. If flashing is installed wrong, if shingles are torn beyond the visible section, or if water is entering through an adjacent roof plane, surface sealant can hide the problem while moisture keeps moving underneath.
A professional repair becomes the better option when the leak source is unclear, the roof is steep or high, storm damage is involved, water has spread into insulation or decking, or the roof is older enough that a repair-versus-replacement decision needs to be made. In those cases, experience matters because the costliest mistakes usually come from misdiagnosis.
Why inspection quality matters more than a fast patch
A leak repair should answer two questions. Where is the water getting in, and what else has that leak already affected? If a contractor only patches the visible opening without checking the surrounding roofing system, you may end up paying twice.
A thorough inspection looks at shingles or membrane condition, flashing details, underlayment exposure, decking integrity, ventilation, gutter performance, and interior moisture signs. It should also consider whether the leak is a one-off event or a symptom of broader roof failure.
This is especially relevant after hail, wind, or winter weather. A roof can have multiple compromised areas even if only one spot is leaking today. Trusted local contractors in the Twin Cities and surrounding communities often see this pattern after storms and freeze-thaw cycles. One stain on the ceiling can point to a larger roofing issue that deserves attention before the next season hits.
Repair or replace depends on the bigger picture
Many property owners ask the same question once a leak appears: should this roof be repaired or replaced? The answer depends on roof age, the size of the damaged area, how many previous repairs exist, and whether the leak has reached the decking or interior structure.
If the roof is relatively new and the issue is isolated, a high-quality repair is often the right investment. If the roof is near the end of its service life, has repeated leak history, or shows widespread material wear, replacement may be the more cost-effective path. Spending money on repeated small fixes can add up quickly when the core system is already failing.
That is where a contractor with real inspection experience adds value. The right recommendation is not always the biggest project. It is the one that protects the building and makes financial sense over time.
What to expect from a professional repair process
A dependable roofing contractor should make the process clear from the start. That includes identifying the probable source, explaining the recommended repair, documenting any related damage, and giving you a straightforward estimate. If storm damage may be part of the picture, the contractor should also help you understand what to document and what questions to ask before moving forward.
Good repair work is not just about stopping the leak today. It is about restoring the system so it performs as intended through the next round of weather. That means matching materials when possible, installing flashing correctly, addressing hidden moisture issues, and standing behind the workmanship.
At Roofs R Us, that protection-first mindset is part of every inspection and repair recommendation. Property owners want more than a quick answer. They want confidence that the issue was found correctly and fixed with long-term performance in mind.
A roof leak is stressful, but it does not have to turn into a drawn-out problem. If you respond quickly, protect the interior, and get the right eyes on the roof, the repair can be straightforward. The smart move is to treat the first stain or drip as your warning sign and act before a small opening becomes expensive damage.